Happy Halloween
Showing posts with label Halloween. Show all posts
Friday, October 31, 2014
Tuesday, October 28, 2014
Thursday, October 23, 2014
Sunday, October 19, 2014
Monday, October 13, 2014
Monday, October 6, 2014
Which Face?
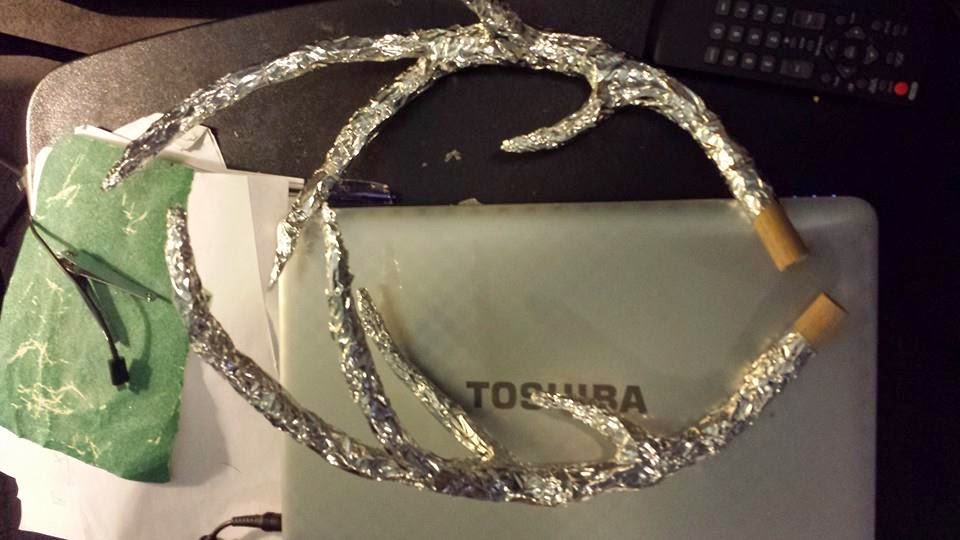
Witch mask put together. Will needs some oranate stuff to tie the antlers together so it will stabalize them. Also the eyes needs the black fabric to blot out my eyes. Plan on adding red LED lights that I can turn on and off for the creature's eyes.
Thursday, October 2, 2014
Monday, September 29, 2014
Friday, September 12, 2014
You remind me of the babe
So these are real chicken feet. They are accoutrements to my costume. Simply bought a pack of feet at Save A LOT (2.15 for about 12) threw them in the dehydrator for 3 days, and painted them up.
Wednesday, September 10, 2014
Monday, September 1, 2014
Building a corpse prop on the cheap
So
I'm back after a long hiatus. I figured I would make another tutorial
on prop building. This time it's an ultra lightweight corpse made almost
entirely out of paper. What you see on the left is the finished
product.
Skeletons
and props can be very expensive. Finding a good quality one is nigh
impossible for under $70.00. On top of that they can be very heavy and
the shipping can be killer. I spent a total of 40.00 overall on this
prop and I can lift it with one finger.
To the left you see the full built skeleton. It has a handy wire hook you build the head around and that made it ideal for hanging while I worked on it. I kept a running fan on the project the entire time to speed up drying.
First off I spayed the entire skeleton with a clear spray paint to somewhat stiffen it and give it the best shot of surviving the water and glue. I then started with the head as I was worried the hook would pull through when it got soggy.
I
built out the crown of the head and allowed it to dry. For this I used
regular newspaper and glue in water. Once the crown dried I started to
round out the skull by adding layers of news paper. This took the
longest time of the entire build. The skull actually did soften from the
glue and it allowed me to squish some of the odd points that were
making the skull look more alien. It was slow going, but once the head
was hardened and shaped properly the rest was much easier.
I
then switched to a brown paper for the paper mache. It was just a huge
piece of paper that I had lying around for a large package I received.
The thickness was very close to paper shopping bags but slightly
thinner. I covered the head first then started on the rib cage. In order
to get the paper to adhere to the skeleton I had to get it very wet and
then drape it both inside and out so that it would adhere to itself in
between the ribs. When it dries it tends to give itself that vacuum look
of a corpse. If you notice to the right the jaw of the original skull
is very denounced. I then had to use more paper to build up the jaw and
nasal cavity.

Once the facial rebuilt hardened I added teeth. The teeth are simply Poly clay. I used another skull as a reference for the size and shape of the teeth. I simply shaped them over the skull teeth, carefully peeled them off, baked, and then applied. I used super glue's "Future glue" and it bonded phenomenally well.

Tip: Keep track of the order. If they get messed up it can be very hard to figure out the placement.
Once I was finished a particular area structurally, I began applying the skin. I find that plain, cheap paper towels not only hold up very well to the glue but the give very nice wrinkles that I cannot duplicate with other papers.
Some areas did not hold up well to the glue particularly the chest cavity. The wet weight started flattening the chest. For this, I used some wire to keep it open while it dried then I simply took it out. I used this method for positioning the body parts.


While I waited for the various parts to dry and lock, I would move to something else. I first positioned the head, then the legs (which I left straight) and finally the arms. The toes and fingers were tricky as they got soft easily.
I basically just used the same methods over and over. For the left arm I used fishing line from the shoulder to the wrist to hold it in place. I ultimately left the fishing line as it will help when the Florida heat starts softening the mache in storage.
For colors I used two different spray paints. One a gold color and the other a black.It ended up a little shiny so I think I will probably hit it with a little sating to dull it down. Otherwise it took about 23 hours of work, One small bucket of glue water, and about 50x4 foot of brown paper. Check out some more pictures below. I will add links to the other props I built once they are built and once I have the final display. If you would like to look at my soul tree build go here.
So
I'm back after a long hiatus. I figured I would make another tutorial
on prop building. This time it's an ultra lightweight corpse made almost
entirely out of paper. What you see on the left is the finished
product.
I
started off with a paper skeleton (seen to the right). I shopped around
and found it for $16.00 plus shipping which ended up at $23.00. Once I
got it I had to do the hardest part. Build it! I admit building it was
very time consuming at first. (although I could probably Build it much
quicker now). It comes on 18 or so different sheets. Aside from the
paper there are some split pins, a few guides, and two rubber bands.
These parts in conjunction with the teeth I built consist of all the non
paper and glue parts. Everything else is paper.
To the left you see the full built skeleton. It has a handy wire hook you build the head around and that made it ideal for hanging while I worked on it. I kept a running fan on the project the entire time to speed up drying.
First off I spayed the entire skeleton with a clear spray paint to somewhat stiffen it and give it the best shot of surviving the water and glue. I then started with the head as I was worried the hook would pull through when it got soggy.
Once the facial rebuilt hardened I added teeth. The teeth are simply Poly clay. I used another skull as a reference for the size and shape of the teeth. I simply shaped them over the skull teeth, carefully peeled them off, baked, and then applied. I used super glue's "Future glue" and it bonded phenomenally well.
Tip: Keep track of the order. If they get messed up it can be very hard to figure out the placement.
Once I was finished a particular area structurally, I began applying the skin. I find that plain, cheap paper towels not only hold up very well to the glue but the give very nice wrinkles that I cannot duplicate with other papers.
Some areas did not hold up well to the glue particularly the chest cavity. The wet weight started flattening the chest. For this, I used some wire to keep it open while it dried then I simply took it out. I used this method for positioning the body parts.
While I waited for the various parts to dry and lock, I would move to something else. I first positioned the head, then the legs (which I left straight) and finally the arms. The toes and fingers were tricky as they got soft easily.
I basically just used the same methods over and over. For the left arm I used fishing line from the shoulder to the wrist to hold it in place. I ultimately left the fishing line as it will help when the Florida heat starts softening the mache in storage.
For colors I used two different spray paints. One a gold color and the other a black.It ended up a little shiny so I think I will probably hit it with a little sating to dull it down. Otherwise it took about 23 hours of work, One small bucket of glue water, and about 50x4 foot of brown paper. Check out some more pictures below. I will add links to the other props I built once they are built and once I have the final display. If you would like to look at my soul tree build go here.
Saturday, November 17, 2012
Halloween 2012
Yard haunt 2012
For a party I went as a Morphan
Other Random costume this year:
And then for the work Decorations. I went with Nightmare Before Christmas.
(unfortunately I didn't get any finished pics.)
Thursday, May 10, 2012
Costume concept
I know I've been away for a while. Working on other projects and life in general. Things will probably kick back into gear sometime in June when haunt season starts to kick in.But for now, here is a concept piece for my Rake costume.

To see the final results check them here.
Saturday, November 26, 2011
The Serious art of Make Believe
The Serious art of Make - Believe
Whether you are a art enthusiast, interested in how things are made, or just a Halloween Horror Night fanatic then I highly recommend The Orlando Museum of History's: The Serious art of Make-believe.
First off I did not know Orlando had a history museum. If you have been to the FLORIDA MUSEUM OF NATURAL HISTORY in Gainesville it has a similar feel. While not nearly as large, is has a multitude of informative and creative displays regarding the history of Orlando. That, in itself, was enough to draw me there but once you throw in the fact that it's $9.00 admissions and a HHN exhibit it was far too tempting to pass up.
The Serious Art of Make - Believe is located on half of the second floor. As you walk in, you are greeted by the familiar sight of Jacks Carnival of Carnage and The Terra Queen's motorcyle. The walls are packed with sketches and props from Halloween Horror Nights, Mardi Gras, Grinchmas, and even some various permanent park attractions. There are even a few interactive displays where you can draw blue line sketches, a "find it" game where you try and spot various objects in a mock up of the prop warehouse, and even a display depicting how foam on plywood are made to like a cornucopia of textures and objects.
I finally learned the inscription on the '05 dagger!
"Cruentus Regina Infinitas Infinito"
The sketches were where I spent most of my time. Being an avid fan of Universal's Art & Design team (and an aspiring artist) I really like to see the creative ideas that spark the amazing sets the we get to see as a finished product. There was a great deal of art from HHN 15: Tales of Terror which I feel ranks as one of Universal's most creative years.
There were also several examples of progression in development. For example the original Carnival of Carnage website started out as rough sketches on three sheets of notebook paper
which progressed to a sketchup version
and then the final website version
I also spent some time drawing my own sketch.
The props are always awesome to see and I enjoyed picking them out and remembering which year(s) I had seen them before. From older props like Jack's box or the Caretaker's scissors to more recent props such as the vomit/garbage and the two wrath costumes from the "Seven" scarezone this year.
All in all, the trip is well worth the paltry admission fee. The exhibit runs until April 29th 0f 2012 so there is ample time and if you want to go a step further there are two chances to meet the A&D team! So make the trip, have fun, and support Florida's museums all in one shot.
** If you just can't make it or just want to spoil the surprise, scroll down for a link to more pictures **
Orange County Regional History Center
65 E. Central Blvd.
Orlando, Florida 32801
65 E. Central Blvd.
Orlando, Florida 32801
Monday-Saturday
10 a.m. - 5 p.m.
Sunday
Noon - 5 p.m.
Artists & Authors Series
Art & Design Team from Universal Orlando ResortThursday, December 8, 2011
6-9 PM $65 admission (non-members)
Meet & Greet the Art and Design Team from Universal Orlando Resort
The Serious Art of Make-Believe Exhibition
Sunday, December 11, 2011
The Serious Art of Make-Believe Exhibition
Sunday, December 11, 2011
Subscribe to:
Posts (Atom)